Proper installation of anchor bolts and nuts is crucial for ensuring the structural integrity of any construction project. This comprehensive guide will delve into the essentials of anchor bolt installation, highlighting the importance of minimum thread protrusion beyond the nut and providing practical tips to avoid common pitfalls. Whether you're a seasoned professional or new to the industry, understanding these concepts is essential for the safety and longevity of your structures.

What Are Anchor Bolts and Why Are They Crucial in Construction?
Anchor bolts are essential fasteners used to attach structures or components to concrete. They play a vital role in load-bearing applications, ensuring that structures can withstand various stresses and loads. By providing a secure embedment into concrete, anchor bolts help distribute loads properly, reducing the risk of structural failure.
These bolts are inserted into drilled holes and secured with nuts and washers. The correct installation ensures that the bolt functions as intended, bearing axial loads and resisting shear forces. Without properly installed anchor bolts, the structural components could become loose, leading to potential hazards.
Understanding Mechanical Anchors: How Do They Work?
Mechanical anchors, such as wedge anchors, rely on physical expansion within a drilled hole to achieve holding power. When the nut is tightened, the anchor bolt expands against the sides of the hole, creating a secure fastening. This expansion is critical in transferring loads from the structural component to the concrete.
Mechanical anchors are suitable for various applications, especially where immediate load-bearing capacity is required. They ensure that the fastener is properly secured without the need for curing time, unlike chemical anchors.
Step-by-Step Guide to Installing Wedge Anchors
Installing wedge anchors requires precision to ensure structural integrity. Here's a step-by-step guide:
-
Drill the Hole: Use a hammer drill with a carbide-tipped drill bit. The diameter of the hole must match the anchor bolt's diameter. Ensure the hole depth accommodates the embedment length plus any additional space for debris.
-
Clean the Hole: Remove all dust and debris to ensure proper expansion of the anchor.
-
Insert the Anchor: Place the anchor bolt into the hole, ensuring it reaches the required embedment depth. The threads should protrude above the concrete surface to accommodate the nut and washer.
-
Tighten the Nut: Add the washer and nut. Tighten to the specified torque using a torque wrench to ensure the correct expansion and load-bearing capacity.
-
Verify Installation: Check that the minimum thread protrusion beyond the nut is achieved and that the nut is flush with the top of the bolt.
By following these steps, you ensure that the anchor is installed properly, reducing the risk of failure.
Common Mistakes to Avoid When Installing Anchors
Improper installation can lead to serious structural issues. Common mistakes include:
- Overlooking Hole Cleaning: Debris can prevent proper expansion, reducing holding capacity.
- Incorrect Hole Diameter: A hole that's too large or small affects the anchor's effectiveness.
- Insufficient Embedment: Not embedding the anchor bolt to the recommended depth can reduce load-bearing capacity.
- Excessive Torque: Over-tightening can cause the bolt to stretch or the concrete to crack.
Avoiding these mistakes ensures that the anchor bolts function correctly and maintain structural integrity.
How to Ensure Minimum Thread Protrusion Beyond the Nut
Minimum thread protrusion is essential for proper load distribution. To ensure this:
- Measure Accurately: Before installation, calculate the required bolt length, taking into account the thickness of the fixture, nut, and washer.
- Use the Right Bolt Length: The bolt must extend sufficiently to allow the nut to be tightened fully, with threads protruding beyond the top of the nut.
- Check After Installation: Visually inspect to confirm that the minimum number of threads protrude beyond the face of the nut.
Ensuring the correct protrusion prevents the nut from bottoming out on unthreaded sections and allows for proper tightening.
Choosing the Right Connector for Structural Stability
Connectors play a pivotal role in the overall stability of the structure. When selecting connectors:
- Consider Load Requirements: Choose connectors that can handle the anticipated axial and shear loads.
- Material Compatibility: Use connectors made of materials compatible with the anchor bolt, such as stainless steel for corrosive environments.
- Ensure Compliance: Verify that connectors meet industry standards and codes for your specific application.
Selecting suitable connectors ensures that the entire fastening system works cohesively.

The Role of Anchor Bolts in Load-Bearing Structures
Anchor bolts transfer loads from structures to the concrete foundation. They must:
- Bear Axial Loads: Support vertical forces without excessive stretch or deformation.
- Resist Shear Forces: Prevent lateral movement that could cause structural failure.
- Accommodate Thermal Expansion: Allow for slight movements due to temperature changes without compromising integrity.
Understanding their role helps specify the correct type and installation method for your project.
Mechanical vs. Chemical Anchors: Which Is Better?
Choosing between mechanical and chemical anchors depends on:
- Load Requirements: Chemical anchors may offer higher load capacities.
- Environmental Conditions: Wet or cracked concrete may favor chemical anchors.
- Installation Conditions: Mechanical anchors are preferable for immediate loading and simpler installations.
Both have unique advantages, and selection should be based on specific project needs.

Proper Torque Application in Anchor Bolt Installation
Applying the specified torque is crucial:
- Use a Torque Wrench: Ensure accuracy by using the correct tool.
- Follow Manufacturer's Specifications: Over or under-tightening can reduce effectiveness.
- Avoid Excessive Rotation: Too much rotation can cause the bolt to fail or the concrete to crack.
Proper torque ensures the anchor bolt is neither too loose nor excessively tight.
Ensuring Compliance: Standards and Codes for Anchor Installation
Compliance with codes is mandatory:
- Understand Relevant Codes: Familiarize yourself with building codes like ACI and ICC guidelines.
- Use Certified Products: Ensure all components meet industry standards.
- Document Installation: Keep records for verification and inspections.
Compliance ensures safety and minimizes legal risks.
Conclusion: Best Practices for Anchor Bolt Installation
Proper installation of anchor bolts and nuts is essential for structural integrity. By understanding the importance of minimum thread protrusion, selecting the right connectors, and following proper installation techniques, you can ensure that your projects are safe and durable.
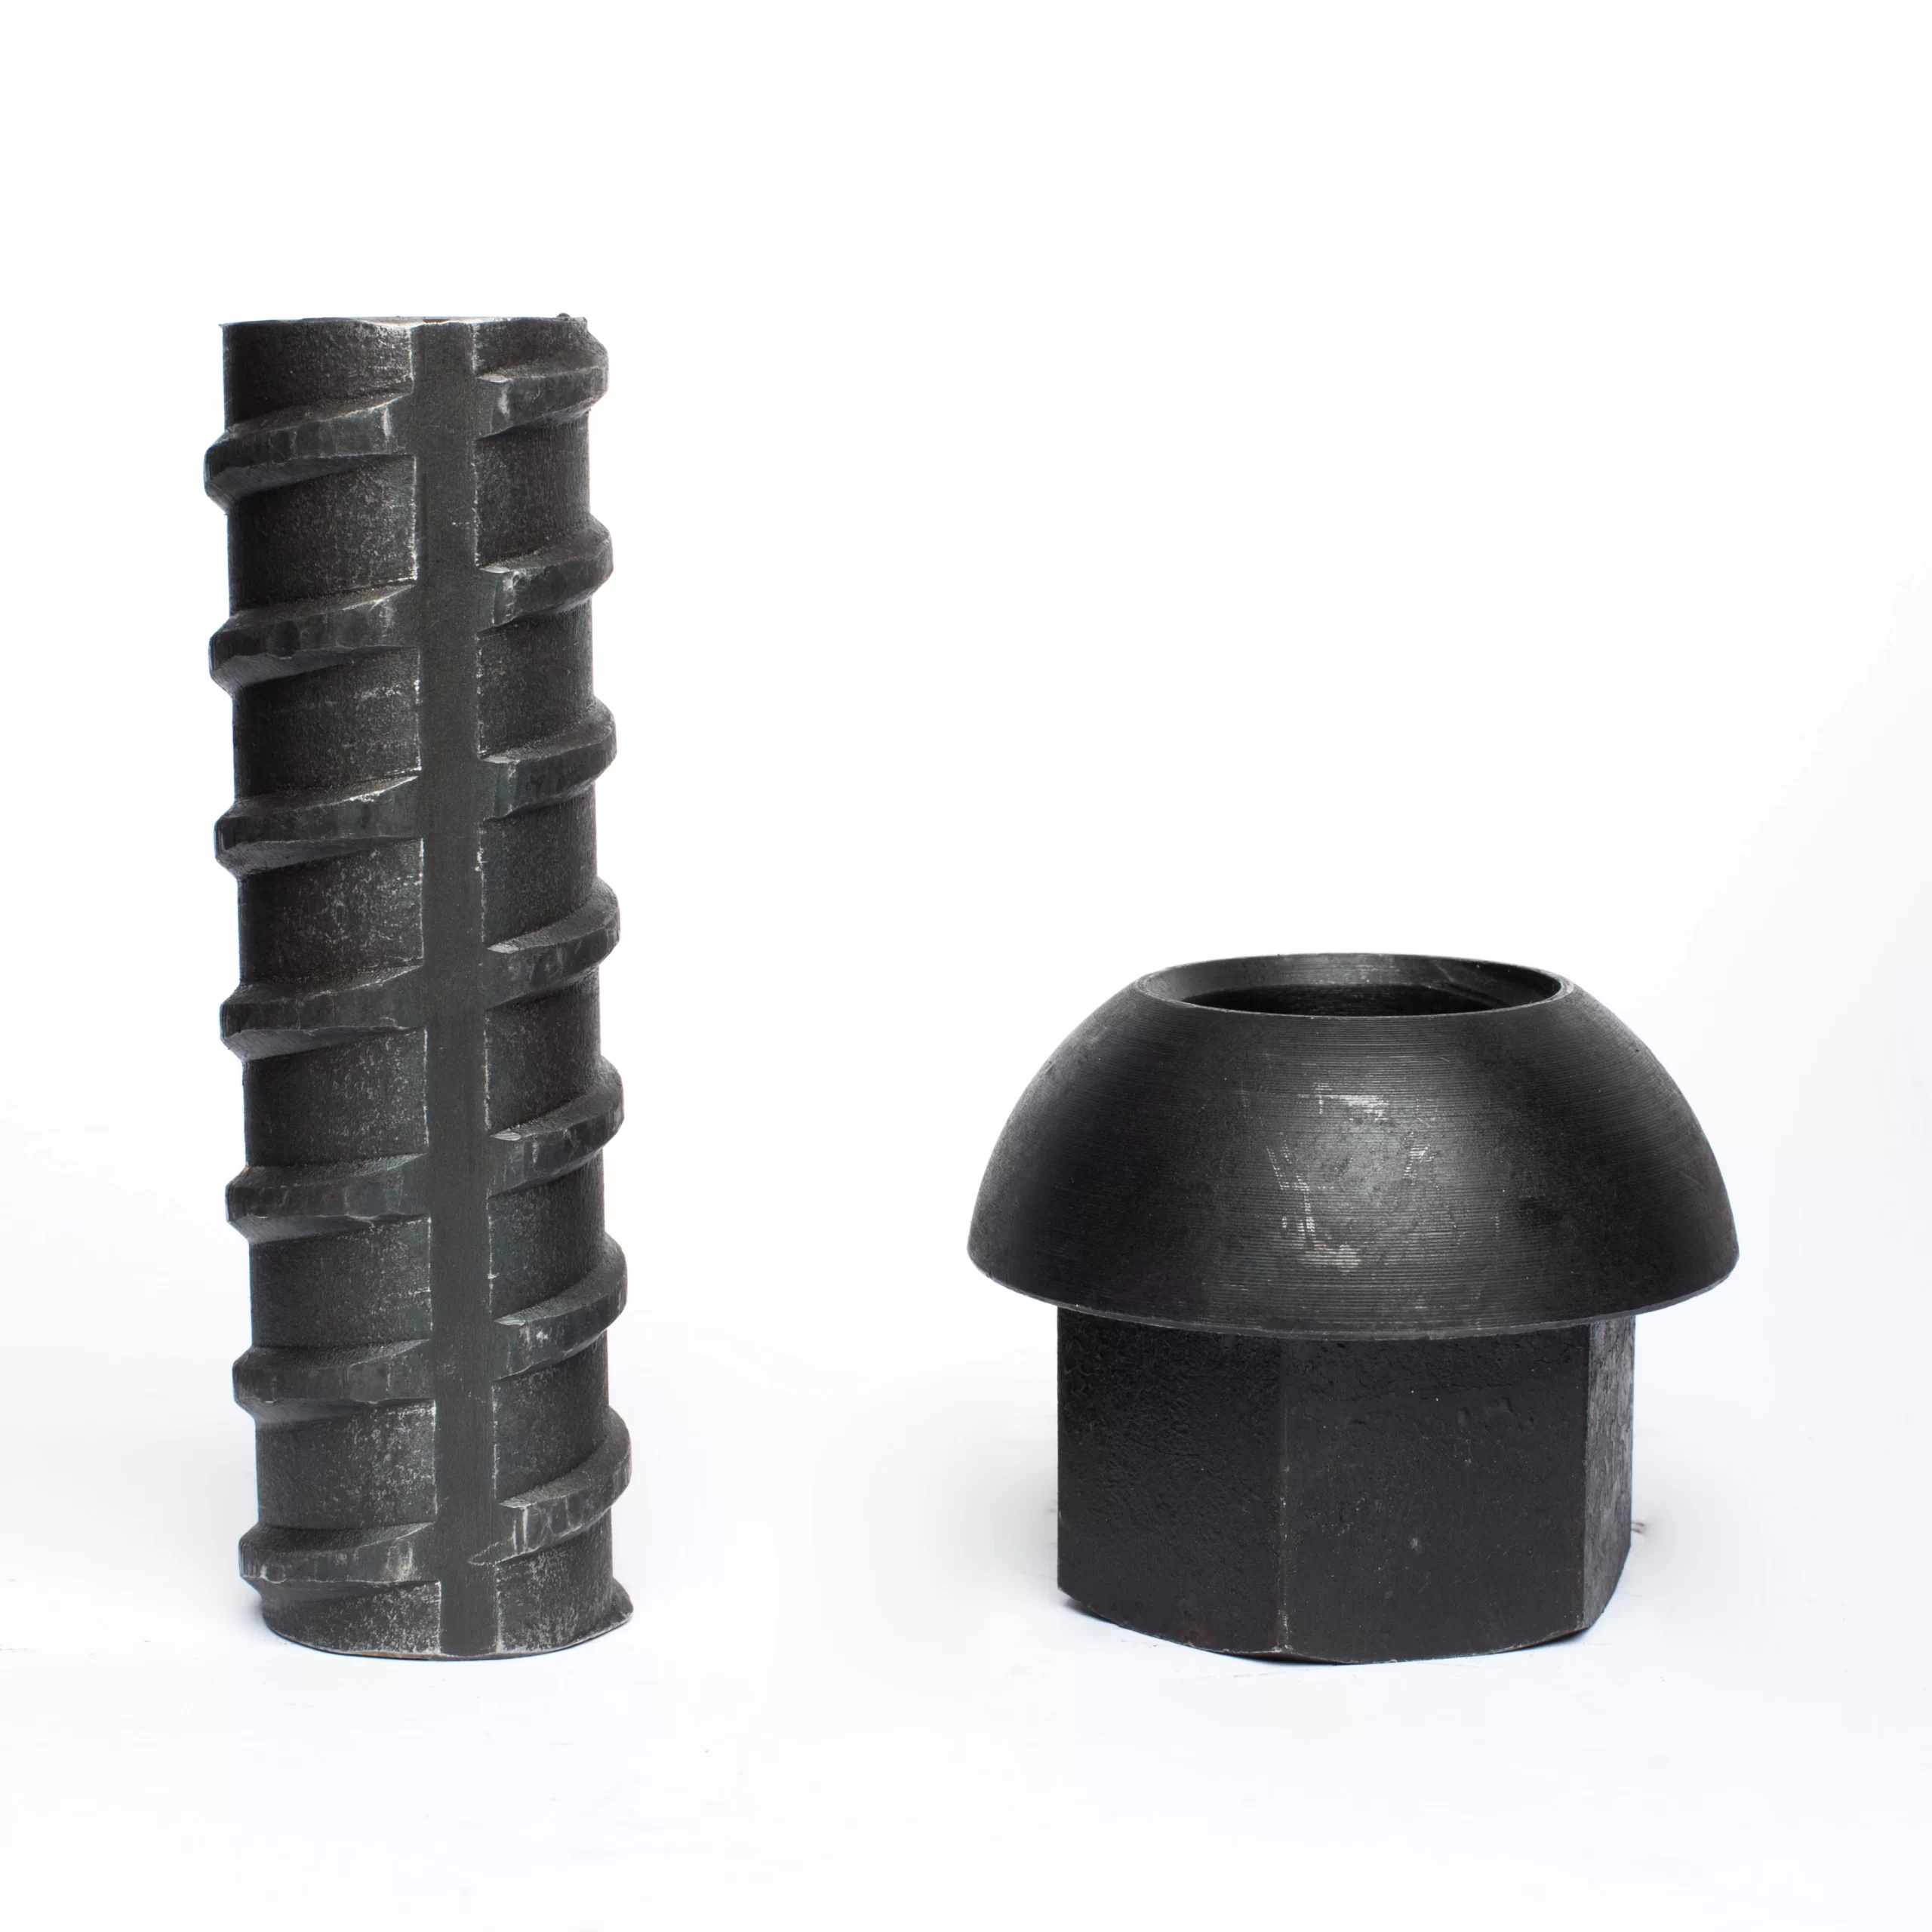
For high-quality anchor bolts and related products, consider exploring our Split Rock Friction Anchor and Mushroom Head Dome Nut offerings.
Key Takeaways:
- Proper Installation: Follow detailed steps to install anchor bolts correctly.
- Minimum Thread Protrusion: Ensure threads protrude beyond the nut for load distribution.
- Connector Selection: Choose compatible and compliant connectors.
- Torque Application: Use specified torque to avoid over-tightening or under-tightening.
- Compliance: Adhere to industry codes and standards for safety.
By adhering to these guidelines, you can enhance the safety, reliability, and longevity of your construction projects.
Post time: 12 月-05-2024


